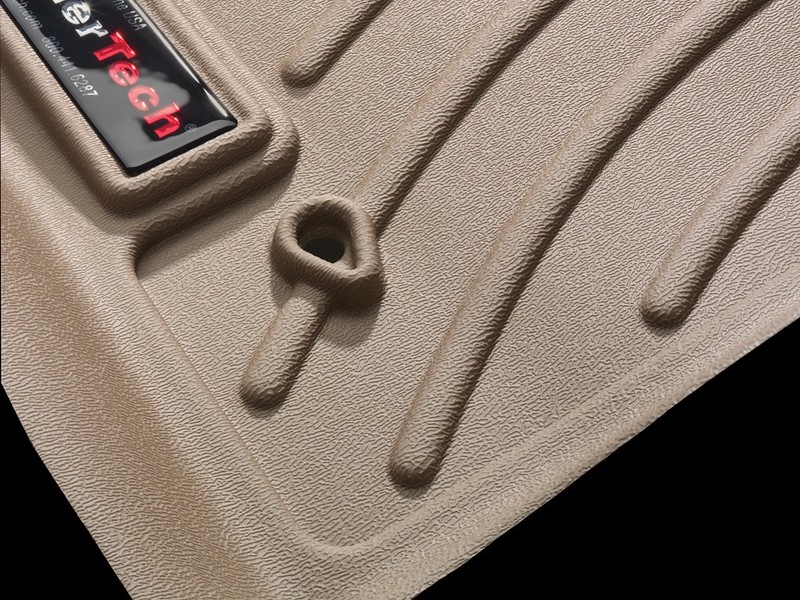
None of us give a thought to how to trim Motor Trend floor mats while ordering them. It’s when the floor mats arrive you have this question. Since we have your back, you don’t need to search more on it.
Below is the detailed process along with full-proof tips to size Motor Trend floor mats. Read until the end to complete the trimming job smoothly.
How To Trim Motor Trend Floor Mats Correctly?
Supplies Required
Not much is needed to trim your floor mats. Still, it’d be better to have the supplies mentioned below handy.
- Permanent marker
- Pair of scissor
Step-by-Step Guide
Move the Driver Seat Back
Before starting the trimming job, rest assured of the final size you need for your floor mats. For that, move the driver seat of your car a little bit back. Place the driver floor mats on the floor.
Place Your New Floor Mats on the Driver Seat Floor
Once installed, keep an eye on the edges that are running out of the contours of your driver seat floor. For any reason, if you don’t want to put new mats on the floor, use your old mats.
Place the old floor mats on your new driver’s seat mat. Observe where your floor mat needs to be cut.
Label the Excess Edges as “X”
After you are certain of the edges that need trimming, open your marker. Label the excess edges with an “X” to know the exact area you need to trim. You can also draw the outline of your old mat on the new one, but this might not get you a clean and sleek-shaped mat.
Trim the Edges of the Driver Seat Floor Mat
Bring the driver seat floor mats out of the car. Start trimming the edges you’ve marked to be shed. Remember to cut against the trim lines, so the shape of your mat stays streamlined.
Place the Passenger Seat Mat under Passenger Seat
Put the passenger seat mats under the passenger seat. Check if it needs trimming, mark the additional sections with a marker, bring it out, and trim it to custom fit. To most of the cars, they would be a perfect fit, so you won’t have to size them.
You May Also Like: The Best Floor Mats for INFINITI QX60
Align the Back Seat Mat with the Back Seat Floor
Lastly, throw your back seat mats inside the car. Align them with the floor, and know if it’s a perfect fit for your back seat floor or not. In width, Motor Trend floor mats are large in most of the cars out there and bunch in the middle.
Mark “X” Where Your Passenger Seat Mat Needs Trimming
Your job is done if the back seat passenger mat snug fits against the floor. If not, pull up the cap of your marker and start marking the excess edges “X” just as you did for the driver seat mat. Take the back seat floor mat out of your car.
Carefully Move Your Scissors on Pre Built Design
Move your scissor against the trim lines of your back seat floor mat. Trim it nicely without overdoing it.
Install Your New Mats in the Car
Once you are done with the trimming, get the mats installed back, and enjoy your trips without the worry of your carpet getting dirty or the car cabin smelly.
Wait, wait, did you read the tips below? Make sure to read them to a snug fit your car mats inside the cabin, and reinforce its interior.
Pro Tips for Trimming Motor Trend Floor Mats
- Don’t overdo it. If a floor mat is rising a little high and covering the wall under the seat, leave it that way. A tall wall floor mat is an additional guard to protect your carpet from dirt, debris, and sand.
- Cross-check the trimming marks you’ve made on the floor mats. It should be accurate to align with your car seat floor.
- Cut your floor mats slowly. You can always cut the additional parts of floor mats later on, but nothing can be done once you’ve cut its edges and sized a mat small.
- Trim only across the trim lines the manufacturer has built already. Trimming out of the boundaries will get you a deformed floor mat. The exposed mid-section might also not protect your carpet the way it should.
Conclusion
By now, you’d have got a sound idea of how to trim Motor Trend floor mats into the perfect size. Start by putting the new floor mats on the car floor or under the new ones. Mark the excess edges and run your scissor through the pre-built lines.
When trimming, it’s imperative that you keep the tips mentioned above in view as they’d keep your floor mats from being damaged. So, grab your scissor now, and begin trimming your mats.